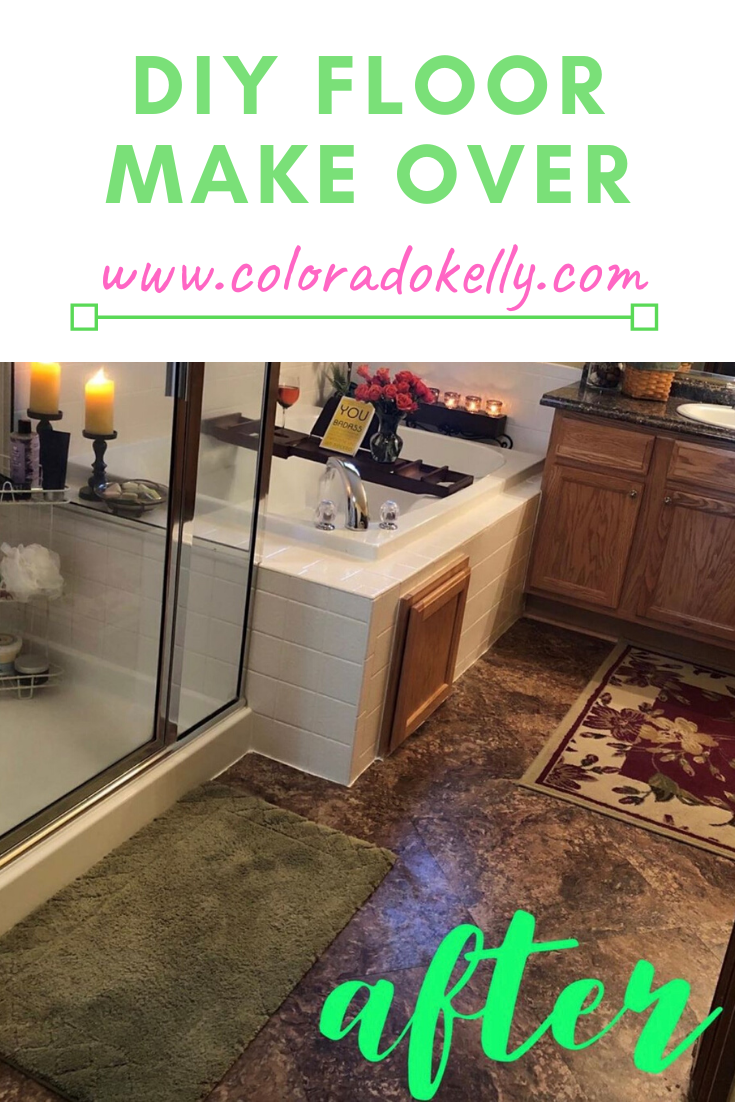
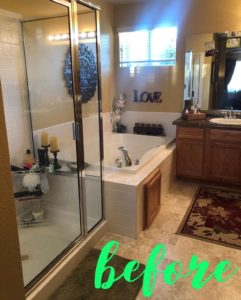
DIY Master Bathroom Floor Make Over!
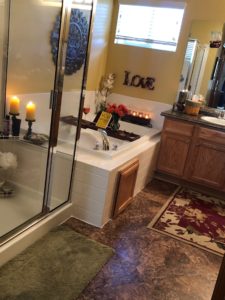
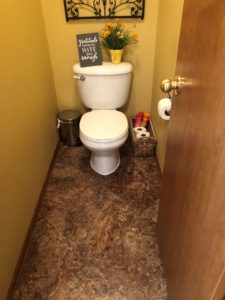
I have been dabbling in home DIY for the past 6-8 months. And I am loving it! I did a bathroom floor make over as a “tester” room for peel and stick tile and actually loved it! So I took on a bigger project of the master bathroom floor! Not only was it less than $100 to redo the entire floor, but it turned out better than I expected! Super easy to do too! Now onto how I did this DIY Floor Make Over!!!
Choose Your Floor Tile
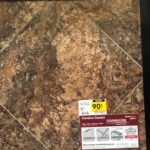
When choosing my peel and stick tile, I knew I wanted something that was a large square (I had a diamond design in mind) so I went to Lowe’s to see what they had available in 18″ square tiles!
What I found was almost exactly what I wanted! They had what was called “luxury” vinyl tiles in 18″ x 18″ squares. Furthermore, you could grout them, or not! I choose the road of least resistance and did not grout. However, I did purchase the grout they suggested, and I will explain why later!
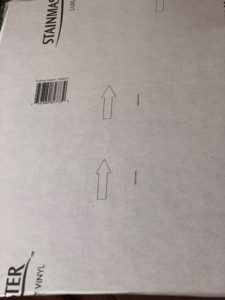
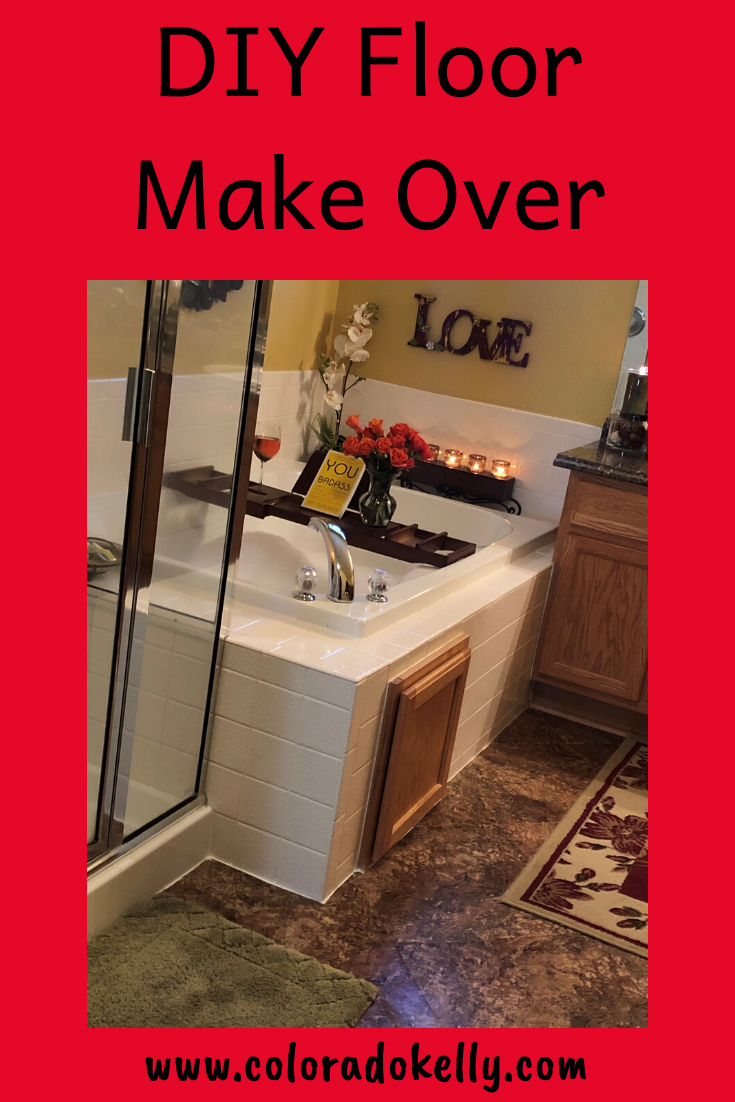
This was the tile I went with, it was a Stainmaster product. 18″x18″ Corsica Cavern was the name. I loved the rich colors and it blended well with my counter top! At the time of purchase, the tile I wanted was on sale! For under $100 I got all the tiles I needed, a tube of white grout plus a small tub of colored grout.
Lay Out Your Design!
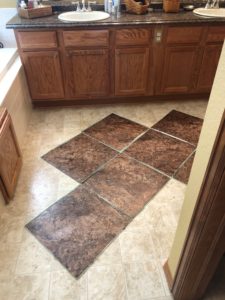
The first thing I did after clearing out the bathroom was layout the tiles on the floor. This DIY floor make over started with a very quick start! The tiles I used had arrows on the back to make sure they are all flowing in the same direction!
Time to Start Peeling!
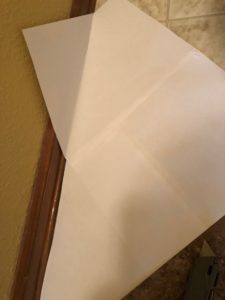
Start from the center of the room and work to the edges. When I got to the edges and needed to start “cutting” I used either a commercial straight edge ruler or I made templates from paper.
All I needed to cut the tile was a box cutter. I had to change out the blade several times to keep it sharp. However, the tile “snapped” apart after one easy cut. The hardest part of the cutting was when there was not a straight cut. Curves and odd angles didn’t do me any favors! So I went through some tiles unnecessarily because I couldn’t always get the angles right!
Finishing Touches!
After each cut I would peel and stick each tile into place. It was a relatively easy process. Inexpensive and fast! Especially for someone who has only started doing DIY projects! Once I had all the tile placed, the finishing touches started!
Remember the colored grout I purchased? Here is where I used it. I had some tiles that were not a “perfect” cut/fit. So I took the grout and filled in these small areas. You cannot even tell there was a mishap! It filled in and blended extremely well! The white grout I used around the tub and toilet!
Had I worked on this continuously, I could have had it done in less than a day. Unfortunately, I did not have the time to do it in a day. But this was truly a simple and easy DIY Floor Make Over that anyone can do! Additionally, I did not need any additional glue for the tile. The adhesive has worked fabulously and we have had no issues with the tile lifting.
Next Project?
My next project will be cabinet painting! Now that the floors are done I need to figure out how to paint cabinets!!! If you have color suggestions, feel free to comment!
Like the tub caddy? This is an amazingly fun “adult tub toy”! It can hold a book, wine glass and more! This was the best part of the floor make over! Buy it HERE from Amazon!
Sign up for our weekly newsletter to be entered into our FREE monthly giveaway! $75 value for subscribers only!!
*This post may contain affiliate links! That means; I may get a commission at no additional cost to you! I do not recommend any products/services that I don’t use and love myself!



 8 Things to do in Paris!
Stephanie
It turned out beautifully. What a neat DIY project. I’ve never thought to do something like this, but it’s a great way to spice up your space!
Kelly
It did spice it up! I can’t wait to start working on the cabinets!!!
Monica
Your floor looks great! And I’m so impressed you did this yourself and that it was so affordable!
Kelly
I even impressed my hubby! No help required!!!! =) Other than changing out the blade on the box cutter! For some reason that stumped me! =)
Lecy | A Simpler Grace
You did such a great job! I love that tile color
Kelly
Thank you!
Yolanda
I love how easy you made this Kelly! For whatever reason I would put this kind of DIY off telling myself that it’s difficult. Nice job! Now you have me thinking more about my bathroom floor!
Kelly
I’m glad!!! It is so easy and really updated my bathroom without a long down time or a lot of money!
Indya | The Small Adventurer
I don’t know what I’d do without blogs! Whenever I own a house a LOT of things will have to be done by us, and since there is so much information within blog posts like this one these days, I’m actually NOT nervous about it, and am instead really looking forward it 🙌
Kelly
Having a house can be daunting!!!