
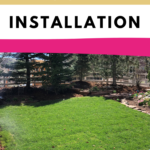
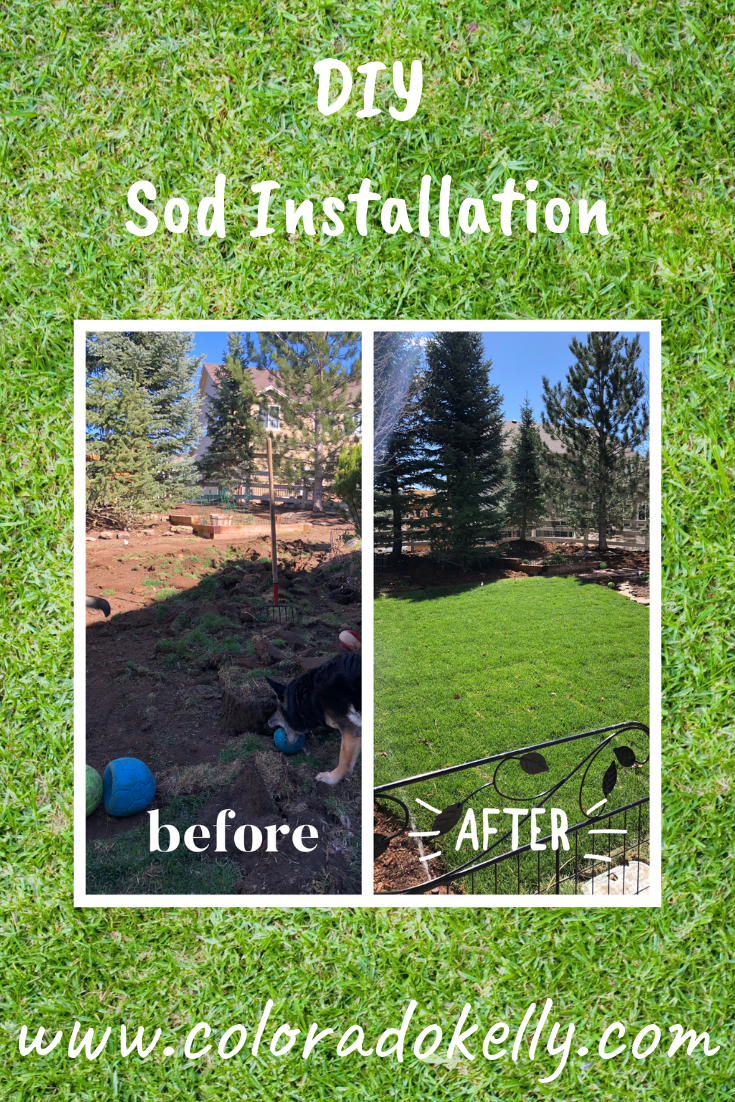
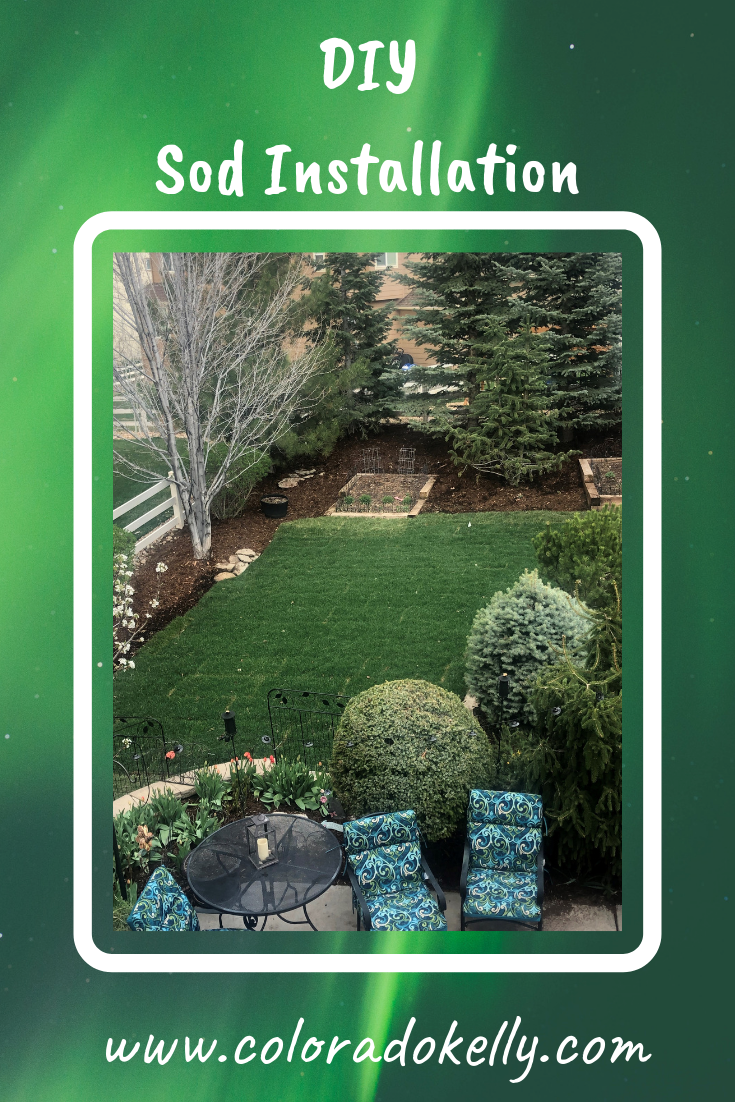
 DIY Sod Installation
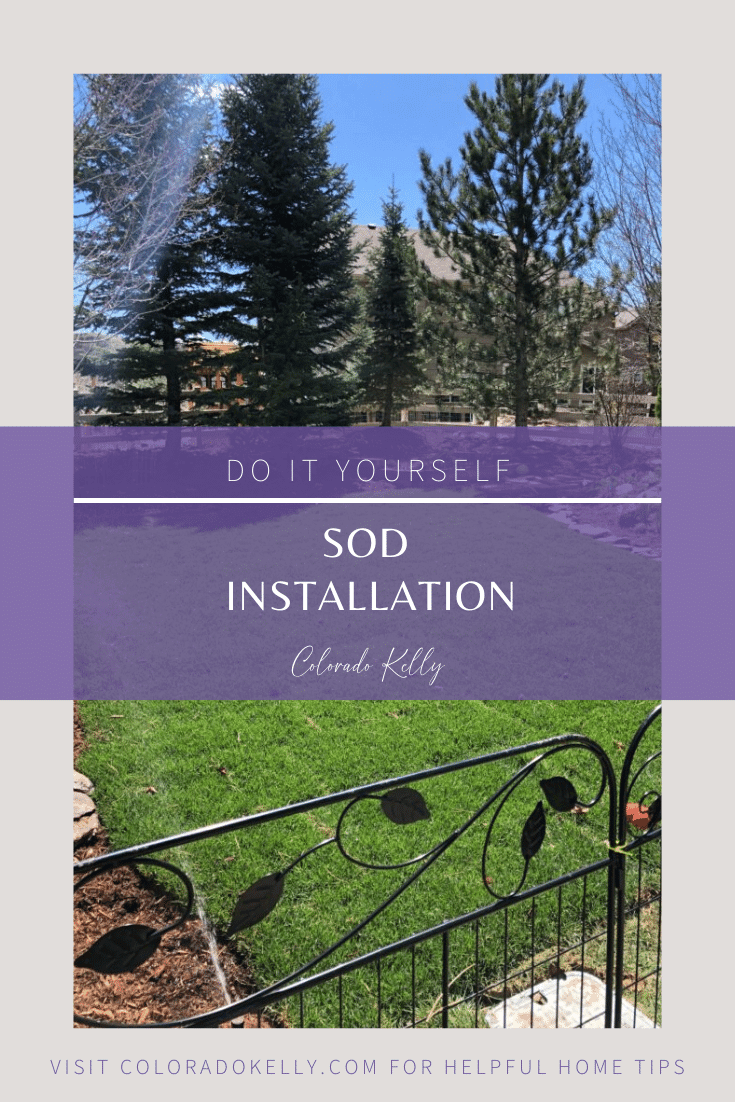
Sod installation is not difficult. A little tedious, but an easy project you can get done in a day if you have 500 square feet or less. My hubby and I have owned a commercial lawn maintenance and landscaping business for 20 years. So we have installed a significant amount of sod over the years!
My Own DIY Project
Last year my hubby injured himself and was on disability for 5 months. So all our projects got put on hold until this year. So we have been very busy prepping our house for a bridal shower, college graduation and a summer filled with good times in our back yard! But I want to help you be able to do this simple project correctly so that your grass will come in beautifully and with the proper care, last a long time!
Step 1
The first step is to take out all the old grass, debris or weeds you currently have in the area where you want your new sod to go. We had existing grass that was destroyed by a winter of no moisture and three dogs! So we rented a sod cutter and cut out all the old grass. It took less than 2 hours to cut out all the old! We have under 500 square feet of grass area in our yard. Once it is all cut out, it needs to be hauled out and dumped!

Step 2
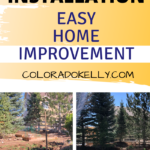
The most important part of sod installation is proper ground preparation! Do not go cheap and be sure to do the work up front so you don’t have issues later! The rule of thumb is to combine 3 yards of organic compost to 1000 square feet of area. We did 2 yards to 500 square feet. We spread the compost evenly over the entire area and then tilled the area 6 inches deep. Your ground prep will “light and fluffy”. When walking on it you will sink into the dirt.


Step 3
Use a rock rake to smooth out your dirt. Remove any large lumps, rocks or debris. Our yard is relatively flat so it was easy to do. Be careful if you have valleys and slopes. If you have a steep slope you may not be able to get proper irrigation for the sod to do well. We have two irrigation zones covering 500 square feet. Proper irrigation is the second most important part!


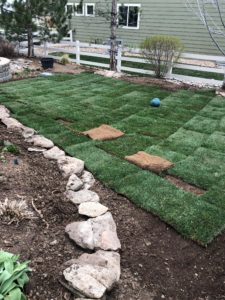
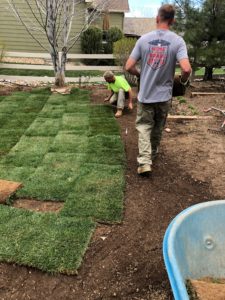
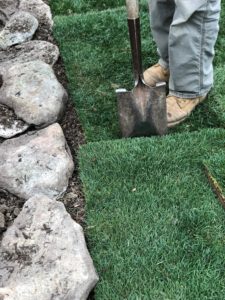
Step 4
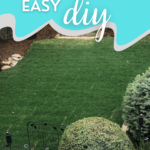
Time to lay the sod!!! When laying the sod, be sure not to line up your pieces so all the seams line up. Stagger the pieces, like if you were laying bricks. Be sure to lay your pieces so they are as close as possible. You don’t want large gaps in between the pieces. Keep the seams as close as possible. Use either a sod shovel (straight edge shovel) or a sod knife to cut in areas.
Step 5
Water, water, water! We water our sod 3 times per day for short periods of time. Do this for the first two weeks. Once you can pull on the grass and it does not pull up from the dirt, you can cut back the watering to one time per day or every other day depending on where you live. The roots need to become established prior to reducing the watering time. Some people suggest watering the prepared dirt prior to installation, I would suggest not doing that as you will have nothing but a sloppy, wet mud pit when trying to lay your sod. There is really no benefit to watering the dirt prior to installation. Just make sure you water after you lay your sod pieces!
Done!
I hope you learned some useful information about how to lay sod! Sod installation is something that is easy to do, but you need to do it right! And new sod is fertilized at the sod farm. So don’t feel as though you need to fertilize right away. Wait a month or so, then fertilize to keep a green healthy lawn!


More importantly, thank you for spending your time here at Colorado Kelly! I love having you here and appreciate everyone that visits and look forward to having you back soon!
Sign up for our weekly newsletter to be entered into our FREE monthly giveaway! $75 value for subscribers only!!


 Lemon Blueberry Cheesecake
Joanne
Wow! That looks fantastic! You did a great job! My husband and I were just talking about laying sod in our rental home because the last tenant’s dog ripped up the yard.
Kelly
Yup, that was one of the reasons we had to re-do our yard too!!!
Jenn Summers
I had no idea you would rototill first! Very thorough post, thanks for the great read!
Kelly
Proper ground preparation is very important!
Trish
Wow! I love this. It is so timely. We just bought a new house. They put our seed hut some areas are sparse. Thanks for the tips!
Mama Writes Reviews
Impressive! Y’all took a job that takes a lot of work and made it look easy!
Kelly
We have years of practice!!
Crystal // Dreams, etc.
Oh wow! You did a great job!!
Kelly
Thanks! =)
ปั๊มไลค์
Like!! I blog frequently and I really thank you for your content. The article has truly peaked my interest.
Kelly
Thank you, I am glad you enjoyed it!